If we had to choose a new operating system for our laptop or desktop computer, it would undoubtedly be Windows 11 because it is a very stable and secure system, not to mention other benefits that leave its users very satisfied.
In addition, it is the latest version of Microsoft Windows available, and therefore incorporates the latest technologies developed for computer equipment. On the other hand, it is the one that dominates the market, making most computer manufacturers include it as standard in their equipment.
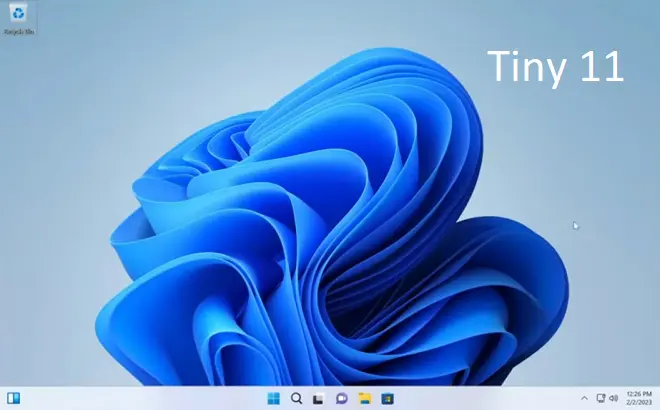
However, it is a system that in its complete version requires that the computer on which it is going to be installed meets certain hardware characteristics that older computers or netbooks with more limited features do not have. That is why the appearance of Tiny 11 falls wonderfully.
What is Tiny 11?
Tiny 11 is a compact version of Windows 11 published by the developer NTDEV, used to experimenting with various versions of Microsoft Windows.
Tiny 11 excludes some Windows 11 features and services that slow it down. However, it brings together the main functions for system management and, as far as communications are concerned, it also supports the most advanced connectivity functions, so connecting to the Internet will not be a problem. And since it is aimed at computers with basic resources, it can run with just 2 GB of RAM.
How to download and install Tiny 11?
The Tiny 11 download is available from the Internet Archive website. Specifically from the following link archive.org. You may need to register with this service to start downloading the Tiny 11 ISO file which is 3 GB in size.
Once the download to your PC is finished, the installation mechanism works with a USB stick and a program like Rufus.
Insert a USB stick of at least 4GB into your PC and open the Rufus program.
In the Rufus window, go to the Device box and select the USB stick you are going to use. Under Select, choose the Tiny 11 ISO file.
Under Boot Choice, select Disk or ISO image. Under Partition Scheme, select MBR or GPT depending on the type of BIOS on your computer.
Leave the rest of the options unchanged and click Get Started.
Once the process is complete, restart your PC and install Tiny 11. Make sure to modify the boot sequence from the computer’s BIOS/UEFI options. In this case, it selects the USB memory as the first boot device, putting the hard disk in second place.
Once this is done, continue with the installation of Tiny 11. When finished, you will be able to enjoy a faster Windows 11 experience on your computer.