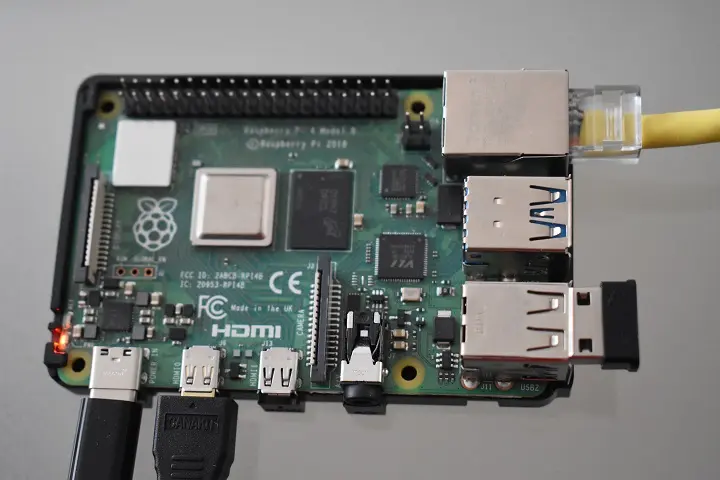
Sharing the Internet connection that your Raspberry Pi has via Ethernet cable does not have to be a very difficult task.
On the contrary, its Raspberry Pi OS (Raspbian) operating system is based on Debian, which in turn is compatible with many network tools from the Linux world capable of creating Wi-Fi zones. This is also aided by the high network connection speed offered by its hardware components. One of them is Linux Wifi Hotspot.
Linux Wi-Fi Hotspot: Turn your Raspberry Pi into a WiFi hotspot
Linux Wifi Hotspot is a tool that has the function of turning a computer into a Wi-Fi hotspot, similar to what happens with Windows 10 or Windows 11 and its Mobile Hotspot function.
In this way, it is possible to extend the network coverage of the home router and provide Internet connection to other computers, mobile terminals or smart TVs that are somewhat far from this device.
How to install Linux Wifi Hotspot?
Linux Wifi Hotspot is a very easy software to install on a Raspberry Pi 4 thanks to the Pi Apps app store. Likewise, the configuration of the Wi-Fi zone is just as simple because the tool presents a completely user-friendly graphical interface. Follow these steps to create a Wi-Fi hotspot using your Raspberry Pi 4’s Ethernet network connection.
If you don’t already have the Pi Apps store, proceed to install it by running the following command in a terminal:
wget -qO- https://raw.githubusercontent.com/Botspot/pi-apps/master/install | bashOnce Pi Apps is installed, go to Menu > Accessories and click on Pi Apps.
In Pi Apps, go to the bottom of its window and click Tools. Next, select Linux WiFi Hotspot. When its tab opens, click Install.
How to create a WiFi zone with your Raspberry Pi 4?
Once installed, open Linux Wifi Hotspot from Menu > System Tools.
Now do the following. In the SSID field configure the name of the access point (the default name is MyAccessPoint).
In Password, fill in the password you want to assign to the new access point (default is 12345678).
To finish, make sure that in WiFi interface and in Internet interface the options wln0 and eth0 are selected respectively. Then click Create Hotspot.
That’s it, now you can connect to the Internet to your Wi-Fi devices through the Wi-Fi hotspot created on your Raspberry Pi 4.