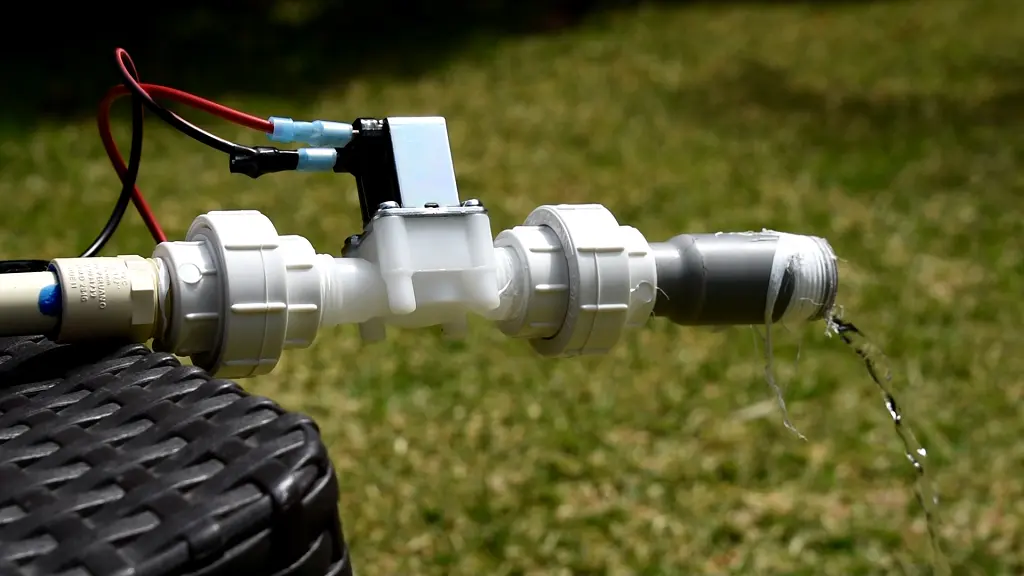
What is a solenoid valve and how does it work?
A solenoid valve is an electromagnetic device that allows you to control and automate the flow of fluids. Its operation is based on electromagnetism. When an electric current flows, it activates its electromagnet, generating a magnetic field that attracts a stem located inside a spring. This displacement compresses the spring, leading to the opening or closing of the valve, thus enabling the precise regulation of the passage or blocking of the fluid according to needs.
Solenoid valves generally do not incorporate integrated circuits and rely on a microcontroller, such as an Arduino or Raspberry Pi, for precise control, allowing effective integration into automated projects.
Use of solenoid valves in automatic irrigation systems with Arduino
Integrating solenoid valves with Arduino opens the door to a variety of projects that require precise control of fluid flow. One of the most common uses, especially for those new to the world of Arduino, is the implementation in automatic irrigation systems.
Imagine the possibility of creating an efficient automatic irrigation system in your garden or school environment. In this scenario, the control of the solenoid valve falls to the Arduino, which, based on the soil moisture information provided by a specific sensor, activates the solenoid valve intelligently to water the plants according to the real needs of the crop.
This example illustrates how the combination of Arduino and a solenoid valve can be essential for projects seeking to optimize processes by automating and responding to specific environmental data.
How to control a solenoid valve with Arduino
The Arduino will control the activation and deactivation of the solenoid valve, while its power supply will be provided through an external 12 V source, managed by a transistor.
In simple terms, a transistor, a semiconductor device, performs electrical signal amplification and regulation functions. Its structure comprises three layers of semiconductor material: emitter, base and collector. Its operation involves controlling the current between the emitter and the collector using a current applied to the base, in this case, coming from the Arduino.
Materials
To control a solenoid valve with an Arduino microcontroller, we will need the following material:
1 12 V solenoid valve, 1 Arduino, 1 TIP102 NPN transistor, 1 1N4001 diode, 1 1000 ohm resistor, 1 12 volt source, 1 9 volt battery (optional), cables.
Physical connections
Place a TIP102 NPN transistor on a breadboard. The base of the transistor will be the terminal that is located at the far left. The collector will be the terminal in the center and the emitter will be the terminal on the right.
Place a 1000 ohm resistor at the base of the transistor. Connect the base of the transistor to PIN 7 of the Arduino by adding a 1000 ohm resistor between them. Connect the emitter to the breadboard ground line. Connect the ground line of the breadboard to the GND pin of the Arduino.
Before connecting the solenoid to the system, it is necessary to protect the circuit against the reverse electromotive force that will be produced by deactivating the solenoid. To do this, connect a red wire to one of the solenoid terminals and a black wire to the other terminal. Make a cut in the center of both wires and proceed to solder a 1N4001 diode, making sure to orient the diode band towards the side of the red wire.
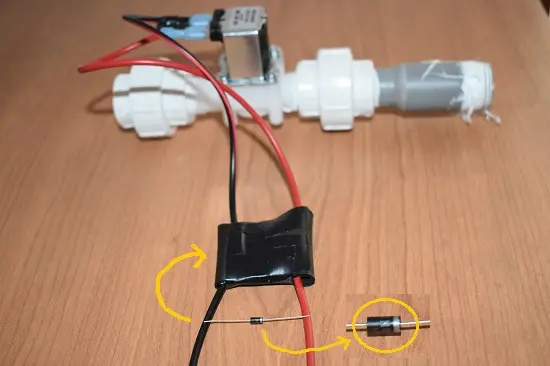
After this, connect the red wire to the positive pole of a 12 V source. Connect the black wire to the collector of the transistor (center terminal). The negative pole of the power supply, connect it to the ground line of the breadboard.
The sketch
int valve=7;
void setup() {
  pinMode(valve, OUTPUT);
  digitalWrite(valve, LOW);
  delay(3000);
}
void loop() {
  digitalWrite(valve, HIGH);
  delay(10000);
  digitalWrite(valve, LOW);
  delay(5000);
}
WATCH IT ON YOUTUBE SHORTS: https://www.youtube.com/shorts/qhXo0nqzVck