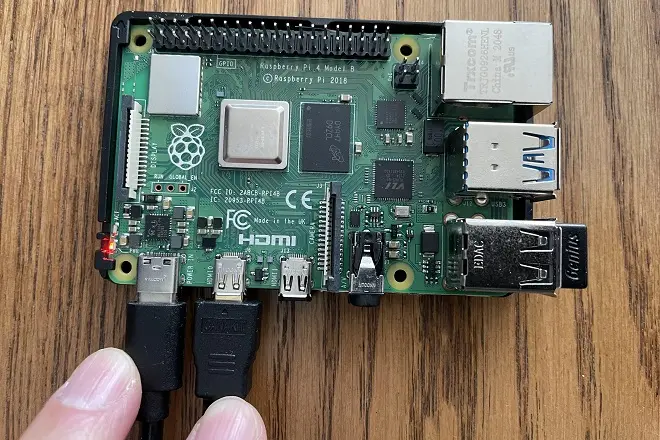
The potential of the Raspberry Pi platform for the educational field is undeniable, as well as a control system for electronic projects involving robotic components.
But for this reason, its use as a desktop computer cannot be disdained, since this platform has enough software to use it as an economical alternative to Windows or Mac systems.
But outside of these uses, there are also more options for Raspberry computers, since the development community that is aware of this project frequently publishes new operating systems compatible with their ARM processors (generally based on Linux) with which to make the most of their odds.
This aspect has been covered on our website with interesting articles describing how to turn a Raspberry Pi 4 model into a retro gaming console or Android TV set-top box.
WoR Flasher: a script to run Windows on Raspberry Pi
On this occasion, we show you a new development for the Raspberry platform. This is the WoR Flasher script, a tool that downloads and installs a version of Windows 10 or Windows 11 on a USB storage drive that can run on Arm processors like those found on Raspberry Pi computers.
Best of all, this script downloads software packages from Microsoft servers, so its use is completely safe. Also, it runs directly from a Raspberry Pi terminal.
Requirements to install Windows on Raspberry Pi
The requirements are very few. Actually, it is enough to have a 32 GB USB stick or an SSD of equal or greater capacity with a USB interface to be able to connect it to the Raspberry Pi. Also, it is recommended to have a stable Internet connection.
How to install Windows on Raspberry Pi with WoR Flasher
Follow these steps to try out Windows 10 on your Raspberry Pi (3 or 4).
First, connect a USB flash drive or a SSD with a USB connection to your Raspberry Pi.
Open a terminal on your Raspberry Pi 4 and type the command git clone https://github.com/Botspot/wor-flasher. Then press the Enter key. This instruction will download the script to a folder on your Raspberry. To run it manually from a terminal, type ~/wor-flasher/install-wor-gui.sh and press Enter.
Once the WoR Flasher graphical interface appears, select the version of Windows and the model of your Raspberry Pi. Next, select the memory stick or USB drive to which the Windows files will be copied and press Next.
Wait around forty to fifty minutes for the information to download. Once the process is complete, the script will take care of executing on your Raspberry Pi 4 with the version of Windows you have chosen.